Happy Saturday! Time for another Influenster VoxBox! This will be my second one that includes the imPRESS press-on manicures. I have a bit more experience now so this should work better and not pinch =3
So there's two sets and there's a couple ways you could play this. You could do your nails twice, once with each package. You could also mix n match and do some accent nails in different combinations... or...
YOU COULD HAVE A FRIEND :D
HI ALLIE. We've done our nails together and you'll get both our perspectives. Two-for-one, influenster!
So we've got two and it's a super easy choice because I am in LOVE with the lace design and the other one has Allie's name on it basically ("Disney Villains" ;D love ya girl).
Here we go!
Fun fact: these nails were done in the middle of our local park with nothing but the things included in these little imPRESS kits.
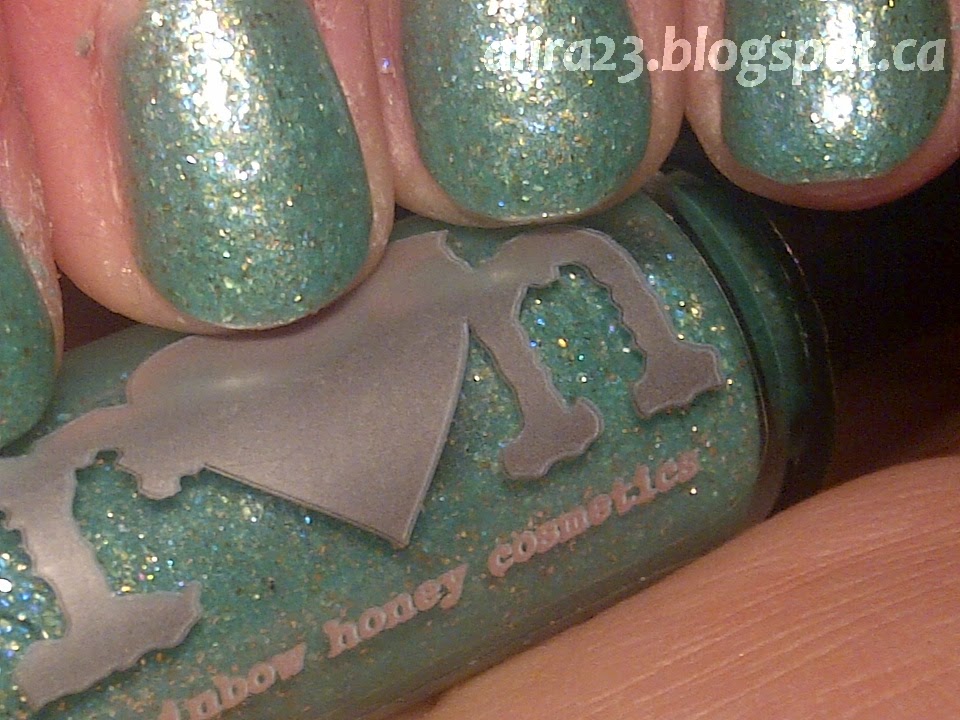
I took the nice fancy lacy one called Holla!...


This worked much, much better than the last time I tried an imPRESS set! I like the design a lot more, I managed to match the sizes up to my nails a lot better this time and maybe I just knew what to expect a little more this time too!
I lasted a full two days before my fiddling interfered with the index and thumbs. Those got pulled off. The last three fingers however are still going strong four days later and in their entirety they did not interfere with life. I'm just a picker. Sorry, fakies. Did I mention I really love this design?
UPDATE: As you can probably tell I wrote this review over several days. I initially applied the nails Wednesday early afternoon and picked off the thumbs and index fingers Thursday night (past midnight). On Friday night I forgot I had an event (The Giggle Dam in PoCo, highly recommend!) and so I pulled out the rest of the pack of nails, managed to find four more nails that fit my index fingers and thumbs and had a full set of glorious nails once again. I think they actually fit better the second time actually. The other three nails per hand are still going strong. The ones I am worst about picking off are actually the thumb and index on my right hand and the difference between those and all the rest of my fingers is that the nails has quite a downward slope at the tip (eg they are curved longitudinally as well as laterally). If you've got any nails like that keep in mind that the tip of the fakie will be quite detached from the tip of your own nail. Doesn't show from normal view but if you're like me you'll poke at it a lot.
PS I applied those four on Friday in a moving vehicle, no problems whatsoever. I wasn't driving! Don't do this while driving k! It had to be said.
***
The second set that Influenster sent me is from their Disney Villains collection called Evil Queen and the dark duochrome was perfect for Allie, who expressed that she had wanted to try fake nails! This was her first time doing it and we both took our time to make sure we picked properly fitted nails and setting them out before starting to peel off the backing (pinkies first!). We battled some windy weather for a bit but *drumroll*...

TA DAA~ Look at those beauties! Allie says her first impressions are good! It took a little bit to match up sizes but application was super easy and the result is nails that look finished and professionally done. (I will add how long these lasted her here so come back if you're curious! As far as I know they're still on from Wednesday afternoon to today (Saturday morning))

I remember one of my complaints from last time was that it was hard to type but I did the majority of this post with my nails on and haven't given it a second thought. Clearly my last less-than-glowing impression was a result of improper sizing resulting in pinching on my cuticle which is definitely user-error and not a reflection on the product itself. Go figure! Goes to show the amateur-pros are still not perfect :)
Overall a positive experience and one I was very, very glad to have the opportunity to share with my friend <3 Thanks influenster! And thanks, Allie for humouring me and trying these out!

So there's two sets and there's a couple ways you could play this. You could do your nails twice, once with each package. You could also mix n match and do some accent nails in different combinations... or...
YOU COULD HAVE A FRIEND :D
 |
| BLAST FROM THE PAST (circa 2007) |
HI ALLIE. We've done our nails together and you'll get both our perspectives. Two-for-one, influenster!
So we've got two and it's a super easy choice because I am in LOVE with the lace design and the other one has Allie's name on it basically ("Disney Villains" ;D love ya girl).
Here we go!
Fun fact: these nails were done in the middle of our local park with nothing but the things included in these little imPRESS kits.
I took the nice fancy lacy one called Holla!...
This worked much, much better than the last time I tried an imPRESS set! I like the design a lot more, I managed to match the sizes up to my nails a lot better this time and maybe I just knew what to expect a little more this time too!
I lasted a full two days before my fiddling interfered with the index and thumbs. Those got pulled off. The last three fingers however are still going strong four days later and in their entirety they did not interfere with life. I'm just a picker. Sorry, fakies. Did I mention I really love this design?
UPDATE: As you can probably tell I wrote this review over several days. I initially applied the nails Wednesday early afternoon and picked off the thumbs and index fingers Thursday night (past midnight). On Friday night I forgot I had an event (The Giggle Dam in PoCo, highly recommend!) and so I pulled out the rest of the pack of nails, managed to find four more nails that fit my index fingers and thumbs and had a full set of glorious nails once again. I think they actually fit better the second time actually. The other three nails per hand are still going strong. The ones I am worst about picking off are actually the thumb and index on my right hand and the difference between those and all the rest of my fingers is that the nails has quite a downward slope at the tip (eg they are curved longitudinally as well as laterally). If you've got any nails like that keep in mind that the tip of the fakie will be quite detached from the tip of your own nail. Doesn't show from normal view but if you're like me you'll poke at it a lot.
PS I applied those four on Friday in a moving vehicle, no problems whatsoever. I wasn't driving! Don't do this while driving k! It had to be said.
 |
| BONUS OOTD feat. imPRESS (with my neon yellow heels!) |
The second set that Influenster sent me is from their Disney Villains collection called Evil Queen and the dark duochrome was perfect for Allie, who expressed that she had wanted to try fake nails! This was her first time doing it and we both took our time to make sure we picked properly fitted nails and setting them out before starting to peel off the backing (pinkies first!). We battled some windy weather for a bit but *drumroll*...
TA DAA~ Look at those beauties! Allie says her first impressions are good! It took a little bit to match up sizes but application was super easy and the result is nails that look finished and professionally done. (I will add how long these lasted her here so come back if you're curious! As far as I know they're still on from Wednesday afternoon to today (Saturday morning))
 |
| Posing like a pro! |
I remember one of my complaints from last time was that it was hard to type but I did the majority of this post with my nails on and haven't given it a second thought. Clearly my last less-than-glowing impression was a result of improper sizing resulting in pinching on my cuticle which is definitely user-error and not a reflection on the product itself. Go figure! Goes to show the amateur-pros are still not perfect :)
Overall a positive experience and one I was very, very glad to have the opportunity to share with my friend <3 Thanks influenster! And thanks, Allie for humouring me and trying these out!