Showing posts with label Sponging. Show all posts

Monday, April 6, 2015

Got my hair blue!! (S)

So I matched my nails!

I started with RH 488nm and then sponged on Cecile 77, Julep Marisa and RH Tessie.


I topped everything with RH Diamond dust which gave it a really pretty sparkle...


And then I basked in the attention for a week :D


What do you think? ;D

I hope you all had a great Easter long weekend and got to sleep in today too!

Sunday, September 15, 2013

NCC#2: Techniques, Sponging? Painting? Dotting?

Hurrah techniques! Since having Bandi Glittering Dark Khaki on my nails had me thinking of the night sky, I decided to go back to a design I've done before: Aurora nails. BUT I skipped the hard parts ;D

Okay, so first step, sponge on some blue! Sally Hansen Blue Me Away. You're allowed to be messy because we're painting over it.

The last time I did this, I watermarbled after this, but this time I skipped it and went straight to the neons.

As before, WarPaint Bad Apple and A Mile Away =3. I painted at the edge of the blue for the most part, but didn't follow it or anything.

Bad Apple (the green) is much more opaque than A Mile Away so I treated them differently. The green was painted on first.

Then, in the thicker parts, I painted on several layers of yellow. I then picked up a dotting tool and Ulta Snow White and dotted for some stars in the sky, as well as putting a dot in the thickest part of the aurora. I put another coat of the yellow to spread the white around into the... thing.

:D

Essence Black is Back is the easiest part, I painted along the edge of my nail and then used a BPS striper brush to swipe upwards for the treeline.


The other hand turned out alright too!


So now this is definitely a more attainable design to those of us who don't like watermarbling!

I would change one thing, and it would be that laste time I put a layer of Sally Hansen Urban Chic, a silver holographic glitter topcoat before sponging. I think because of the cool colours throughout this design, Bandi Glittering Dark Khaki doesn't quite fit.

What do you think? I hope no one minds I revisit techniques...


Tuesday, July 9, 2013

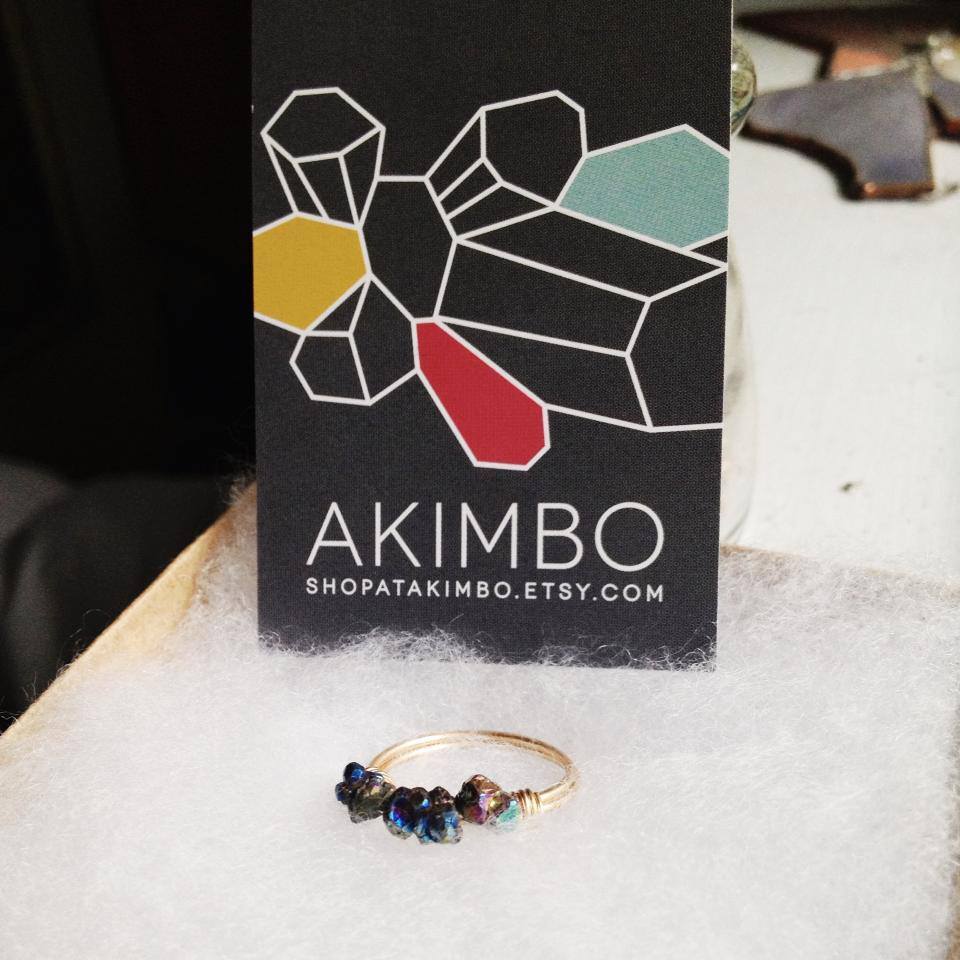
Inspired by Akimbo nail art and happy birthday to mee =3

I love when bloggers do a spotlight on artisans with cool jewelry a la XOXO Alexis Leigh. This time it wasn't her though, it was Steph Lau at Fun Size Beauty (who shares my opinion that full size nail polish is impossible to finish and mini's are all we need). She did an awesome spotlight on Akimbo, an etsy shop run by California sisters Jenny and Kim. They collaborated to even sweeten the deal with a little giveaway for almost any one item from their shop... and I won :D:D:D This was an excellent thing for me because as soon as I looked at their gorgeous pieces, I wishlisted the meteorite ring and fully intended to spend my ever dwindling cashmoneys on it. When I found out I won I was ecstatic!

I eagerly awaited its arrival and it made it just in time for my birthday! Lucky meeee <3


 So, like I said, I got inspired! I used a sponging technique and a million colours (okay, like five: Revlon Strawberry Electric, Pure Ice Blue Midnight, China Glaze Running in Circles, Orly Rockin' Rockette, Nyx Techno) all over China Glaze Cast a Spell.

(Instead of bombarding you with a scroll of photos of my step-by-step I made a picmonkey collage.)
To further match the ring, and distinguish these from galaxy nails (though near-sheer metallics appear to be an AMAZING way to accomplish those), I freehanded two double lines using my dotting tool and KleanColor Gold Bright. I cleared up the terrible mistakes while it was still wet by running a mechanical pencil along the edges. It worked pretty well. One day I will have a real nail art brush. One day...


And another collage with their pretty business card <3
And then just some snaps from the sunshine...


Omg, do you love it as much as I do? I may have to use these specific colours again for actual galaxy nails :3

What do you think? Do you have any tips for getting precise lines? Wish me happy birthday? ^___^

PS: I really wish I could do a giveaway for you guys for my birthday but I'm so low on funds I'd never be able to ship the prizes in a timely manner. The second I get a job, there will be a celebratory giveaway so send me your tips and tricks if you've got any ;P

[Akimbo Handmade Jewelry is on both Etsy and Facebook - go say hi and tell them I sent you!]

Tuesday, January 1, 2013

Let It Snow #5 NEW YEAR'S EVE

Okay. This is where I try something totally out there. Recently I met another wonderful lady in the nail world who did these AMAZING Aurora nails. You don't know. She then made a tutorial HERE. And that's what I'm doing =]

I started with that deep purple ELF from yesterday (does anyone know where I can find ELF names?) Following the Adventures of the Nail Friends tutorial, I found a holo topcoat (Sally Hansen Urban Chic) since I don't have a very dark holo purple. Swiped on a bit.


 It is very holo-y. As per tutorial, I sponged on GS187, which is maybe the closest colour I have to the one Nichole used.
 Then I sponged on Sally Hansen Blue Me Away. I think the grey filled in the spaces, otherwise I'm not quite sure what it's for...
 I dotted some stars (LESS IS MORE) with Ulta Snow White.
 I cleaned it up, and covered it with Seche Vite because the next step is scarryyyyy~~
 WATERMARBLE. I used Sally Hansen Mint Sorbet. And it took me a while to get the hang of it. Basically drop and swirl like mad right away. I didn't figure it out until my second pinkie and second thumb (which I did together) so it looks like a mess. I did swipe over with an acetone cotton swab on some of the nails to get the holo to peek back through but I tried not to worry about it.
 Other hand was better maybe? I really like the index finger below...
 Then I picked up WarPaint Bad Apple and just stroked whatever I felt like. I couldn't follow my shitty watermarble so I just made up some lines.
 I tried to keep it flowy and remember less is more.
 I then picked out WarPaint A Mile Away which is MUCH less opaque so I just dolloped a bit in the fat parts of the green. Just one spot. If there was only a thin strip (see index finger) I poked a little bit of the yellow without attempting any sort of opacity. It didn't really work. I recommend just using whatever opaque-ish yellow you've got and not worrying about neon-ing it.

 I picked up Snow White again and just dotted in the center of the yellow. I should have diluted it and stroked but oh well. It could be the negaverse swallowing us whole.

 THIS IS THE HARDEST PART I SWEAR. Ugh, my treeline is UGLY.
I fully intended this to be rotated the other way....
SEEEECHE~

 I am in love.

So with that...

HAPPY NEW YEAR!

I love you guys, and hope you have/had a hell of a party and I'll see you for a hell of a new year!

Special thanks to Adventures of the Nail Friends for her idea and tutorial <3 Please check her out, she is awesome through and through.

Don't forget the rest!