
Hey Everyone! So it’s almost Thanksgiving
here in Canada and in the spirit of Autumn I thought I’d do some nail art! I’m
just going to put this out there; I’m not exactly an expert nail artist. So I
basically have three main problems: 1) I really have trouble using my left
hand, 2) my nails are quite curved which makes drawing straight lines really
tricky and 3) you only have one shot at getting a drawing right or else or you
have to strip your nails and start all over. So basically on a really good day
my left hand ends up looking sober and my right looks drunk. L. Sooo I was bored and finally decided to try out a technique called
“The Plastic bag method”. Basically you paint on saran wrap and then transfer
it like a pre-made nail decal. I tried to figure out who’s idea this was
originally to give them their due credit, but I couldn’t figure it out. If you
guys know who started this pllleeease message me! Anyways so if you aren’t
familiar with this technique I’m going to walk you guys through what I did. I did
this at night so all my progress picks are a little strangely colored due to
the lack of natural light. Sorry!!
I started out by stretching saran wrap
around a flat, plastic lid I found kicking around. I taped the edges to try and
keep the saran wrap as flat as possible, but it was really tricky to get the
saran wrap to not wrinkle. The next time I tried it I figured out that saran
wrap sticks to CD cases statically which works a lot easier. You can get a
really smooth surface by keeping the saran wrap loose, pressing the side of
your hand into the middle of the case and then sliding your hand right and left
to get a smooth wrinkle free surface. When you have a good sized section
flattened, you have to secure it down using tape, but this method works much,
much better! Setting up my “canvases” took about 5-10 minutes a piece once I
got the idea refined. I also used white paper to replace the album art and give
me a nice neutral background for creating decals (black construction paper
would work well for white decals too, hint hint like spider webs!!).
The first thing I painted was some longer,
teardrop shapes onto the saran wrap using a few different colors (will list
down below). Because nail polish dries slower on other surfaces I left the
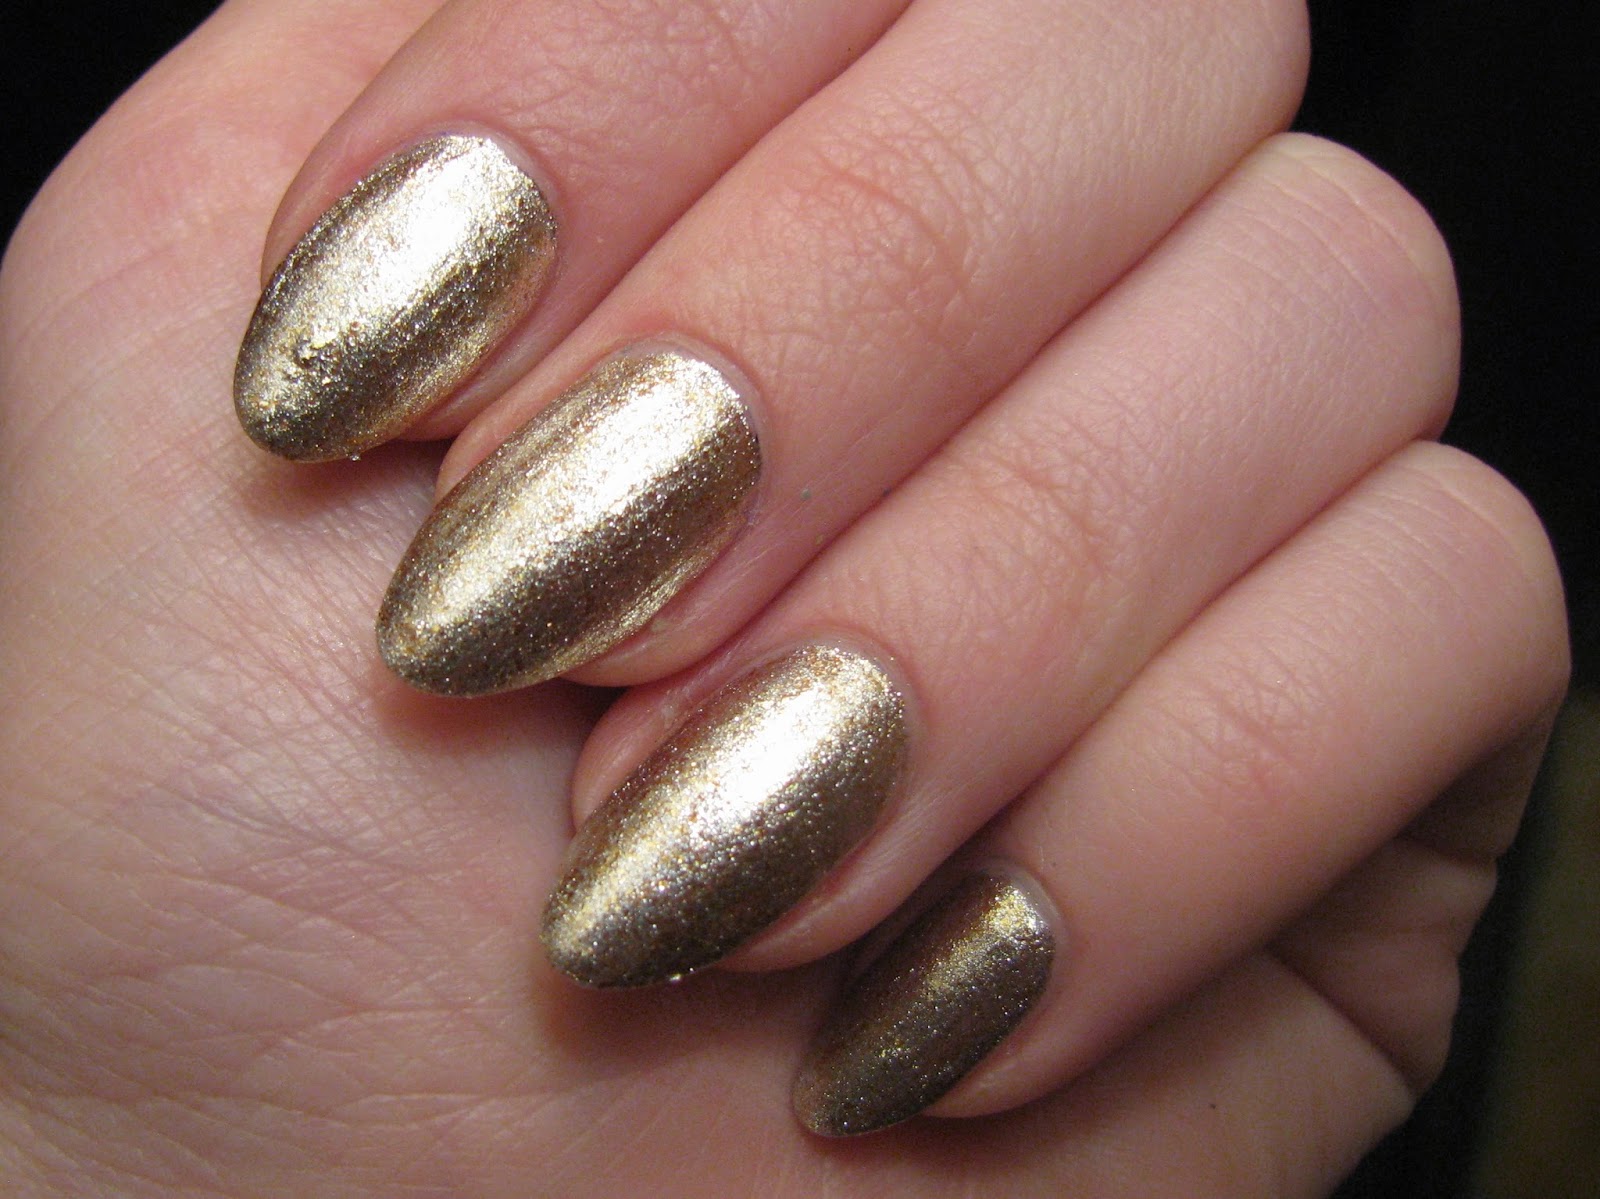
saran wrap alone for about half an hour and painted two coats of Handy Candy’s
“Crush on Gold” on my nails. Here’s the pictures of my nails with “Crush on
Gold”.

Next I added details to the leaves using a
black striper and left that to dry for half an hour (yes I know this process is
a little slow but its easy enough to do while watching tv). I did kind of a
loose, messy outline of a leaf using the striper because I wanted an artsy
flare and also because that style hides mistakes really well. Because my nails
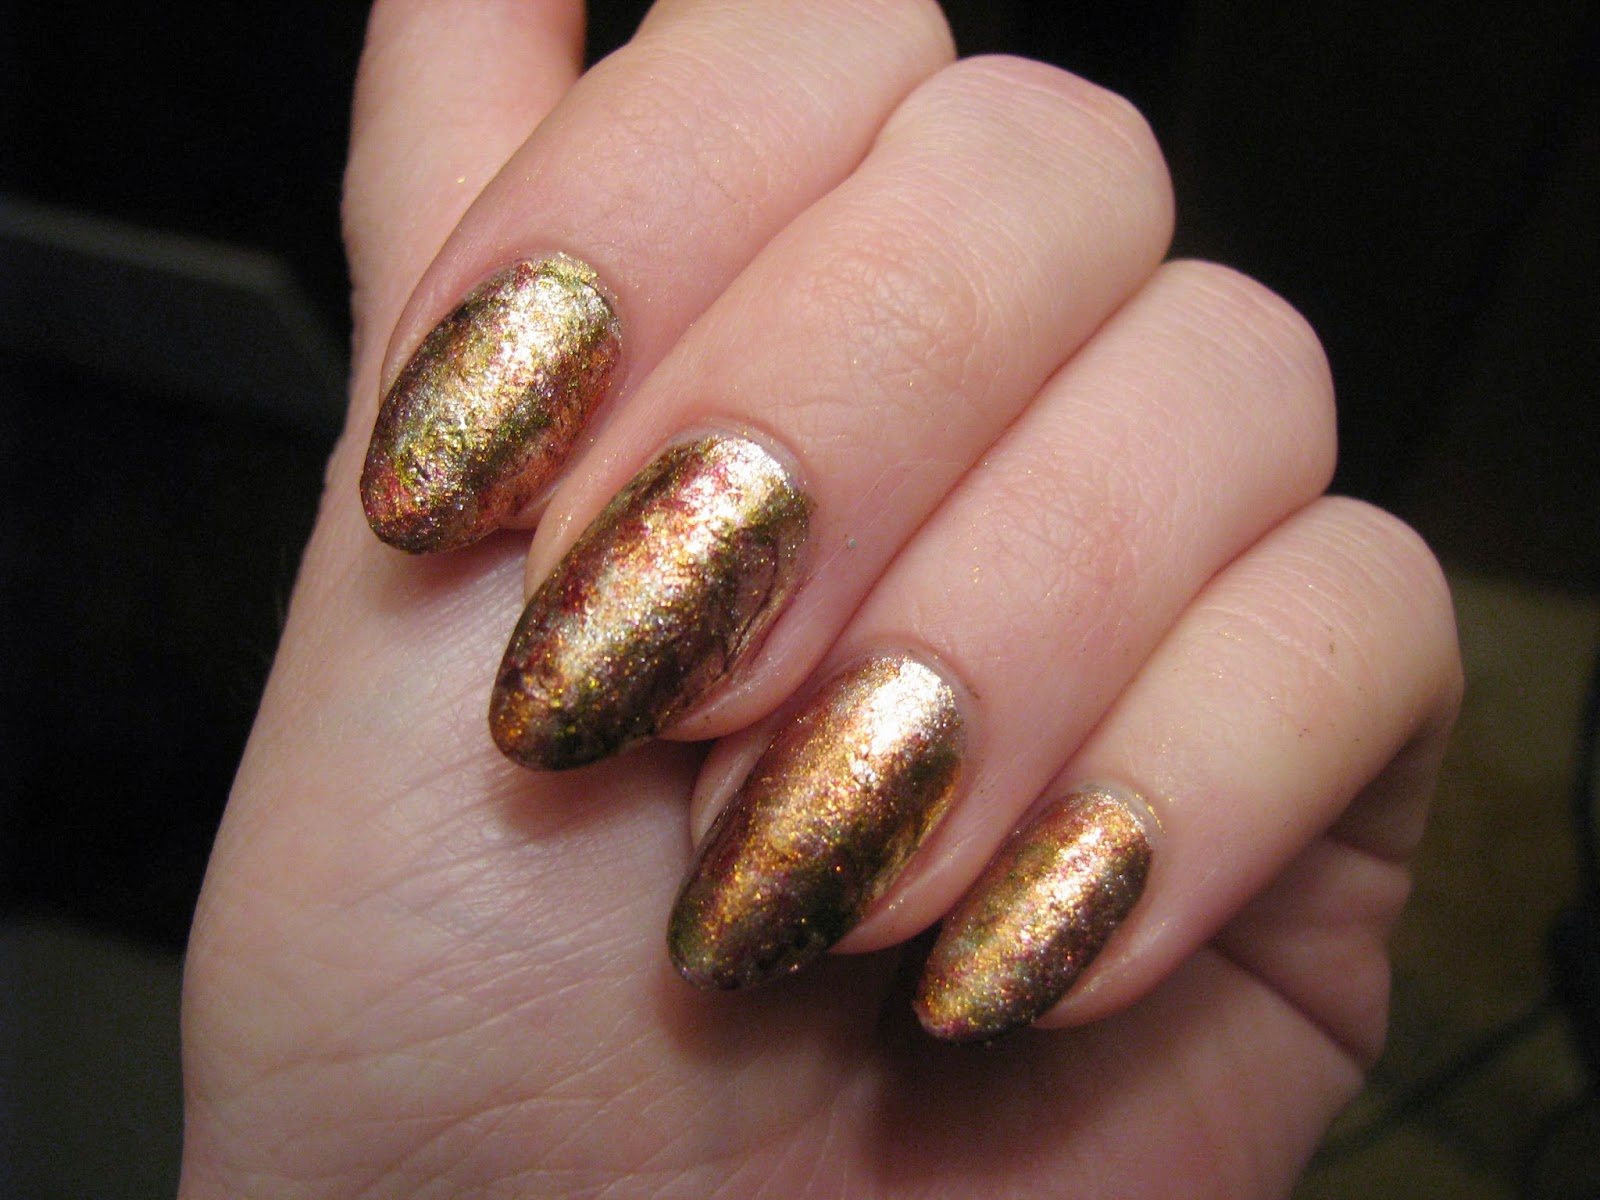
looked too plain with just the gold as a base, I decided to do some saran wrap
marbling. So basically you blob on a few different colors and then blot the wet
nails with saran wrap. It’s a little messy and there’s some clean up involved
afterwards, but it looks purdy!! Here's a few pictures of my saran wrap leaves
and my nails with the saran wrap marbling.




So after letting the black dry, I decided
that the decals would probably come off easier if they were thicker, so I
coated them all in top coat (seche vite).
I left a fairly wide boarder of top coat around the leaves so that if I
needed to pick at the edge to peel it off, it wouldn’t distort the image. Once
the top coat dried I picked off the leaves. You have to be a little careful
when picking the leaves off that you don’t tear through the saran wrap.
However, once I got a fingernail between the decal and the saran wrap it was
actually very, very easy and they came right off! I was temped to use tweezers
to peel the decals, but I was concerned about tearing through the image itself,
so I just used my fingernails. Once peeled up, I placed the decals where I
wanted them on my nails, trimmed off any excess top coat if it stuck out passed
the nail and then painted top coat over the whole nail to seal the leaves on. My
nails were slightly tacky when I put the decals on, which really helped them to
stay in place while I painted the top coat on. By the time I got to the last
few my nails had dried fully and the decals kept slipping off, so I painted a
little top coat on before I put the decal on and that really helped secure
them. A few of my nails felt a little bumpy still so they all got two coats of
top coat. Here’s the final result (which incidentally became a giant photoshoot hehe)!!


I’m really happy with how this turned out!!
It looks really fun and festive! The colors I used for the marbling and for the
leaves were (in order of the photo): Spa Ritual’s “Conduit” (shimmery golden orange), Sally Hansen’s “Wine Not” (Shimmery merlot red), OPI’s “Expresso Your Style” (shimmery red toned brown), Butter London’s
“Wallis” (shimmery golden moss green) and Handy Candy’s “Crush on Gold”. Here's the bottle shot!

I hope you guys have a great Thanksgiving
and get to spend some quality family time!!! I know I’ll be enjoying my strange
family and hopefully successfully making an edible dessert (my family is
famously known for botching desserts EVERY year!!). HAHA hope you guys like my
first art attempt!! I’ll be doing a few more for Halloween in the next week or
so!


