Showing posts with label Spa Ritual. Show all posts

Thursday, December 4, 2014

Swatch: OPI Comet in the Sky Two Ways! (T)

Hi everyone! So Sharra and I went Black Friday shopping and I 2 of the new OPI Christmas Collection Comet in the Sky and Snow Globtrotter! These two are sister polishes and in my mind both are totally fabulous.  I haven't really seen anything like these in a while from the mainstream brands (at least that I can think of) so in my opinion they are the picks of the bunch!

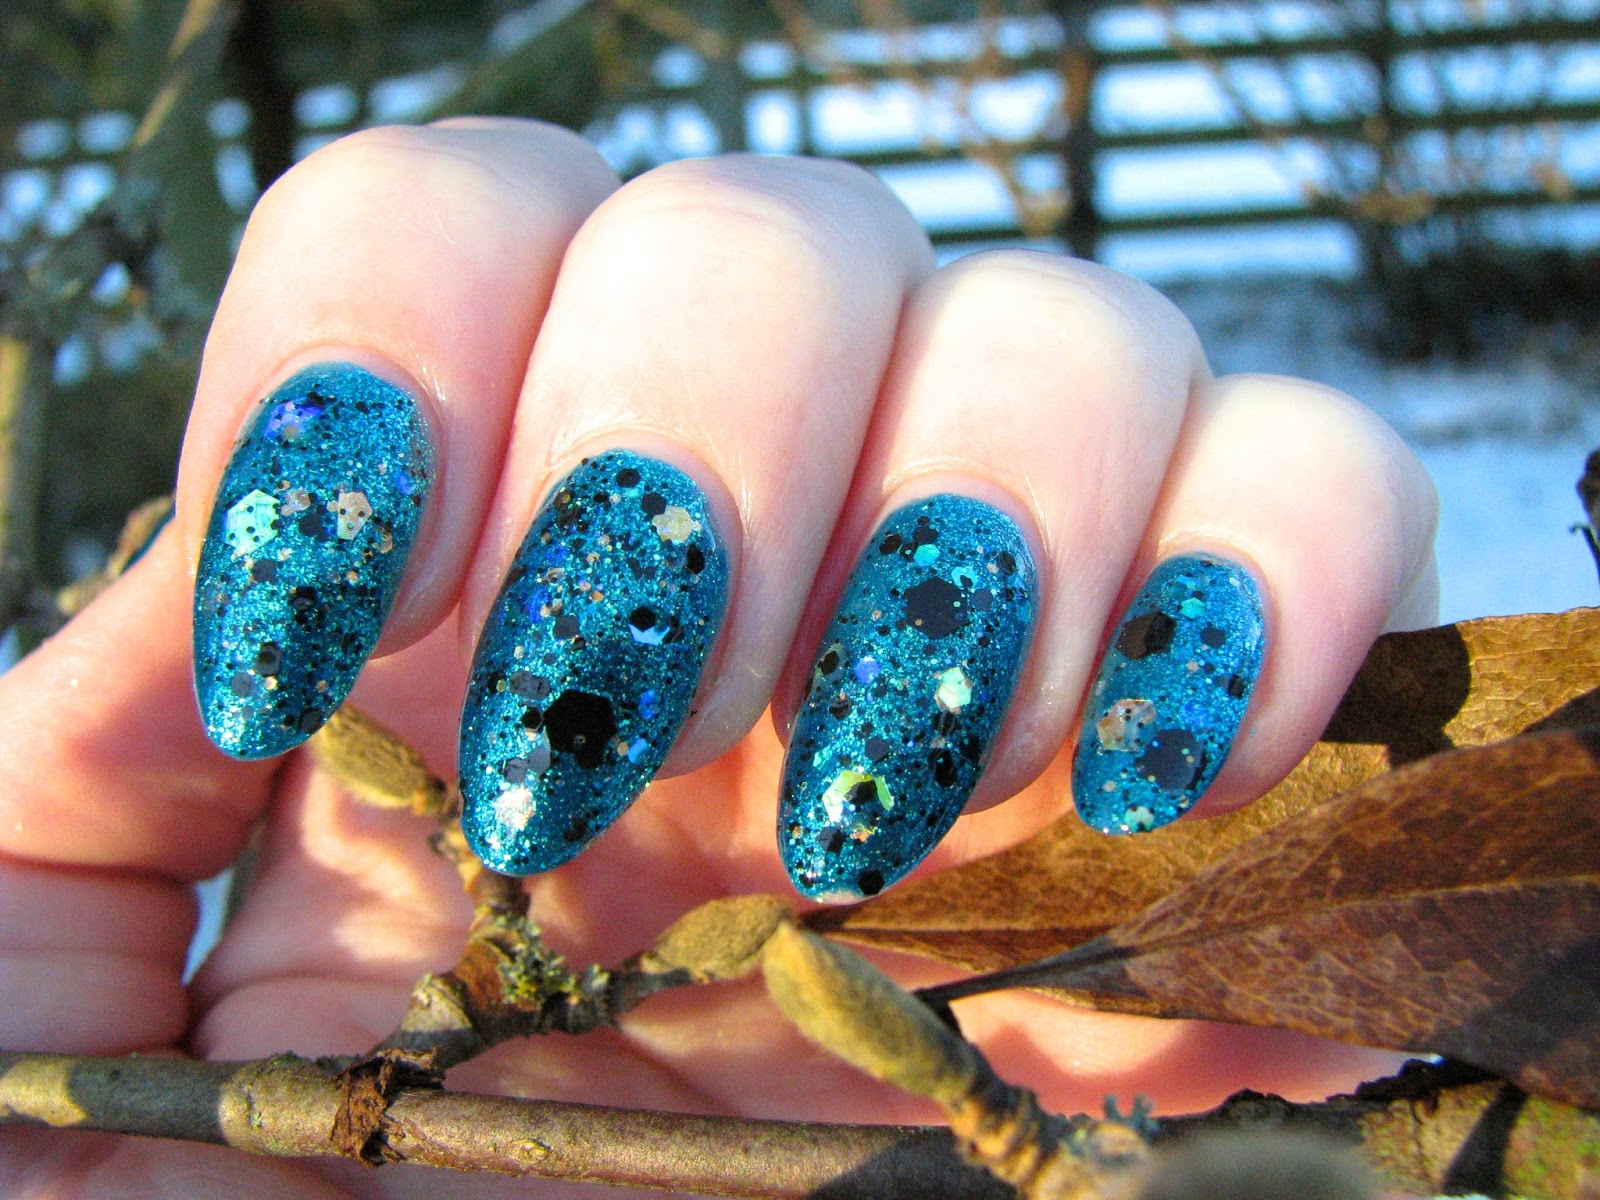
Today's polish is Comet in the sky. Its a black and iridescent hex glitter mix in a clear base! Yes you heard that right!! Clear base! Whoop whoop!! I hate when glitter bases like this aren't clear, it just restricts your colour options tooooo much. The glitter mix includes: large black and iridescent hexes, medium sized black and iridescents and tiny little black specs. There are yellow, blue, green and purple iridescents, which is awesome-sauce. LOVE the variation! It really adds complexity to the mix.

Formula wise: no fishing required, but definitely a little placement assistance needed to get an even coating. This is one coat of glitter, so the pay-off is good. I did notice a bit of curling or "taco-ing" with some of the hexes (I think maybe just the iridescent ones). It wasn't really noticeable, but it did make the glitter feel rough. I ended up needing two coats of seche vite to smooth it out to a point where I wouldn't be tempted to pick at it. Slightly annoying, but not a deal breaker for me.

I decided to swatch Comet in the Sky with two different colours to show you guys the versatility of this glitter mix. Neither of these combos I've seen before, so yay!! So the first is a greeny turquoise shimmer: Spa Ritual's Off the Grid!  The second is a pinky/goldy shimmer: OPI's  Rally Pretty Pink!


P.S. Sorry if this post is a little too pic heavy, it was hard to choose!!


Spa Ritual Off the Grid:


 OPI Rally Pretty Pink:


Let me know which combo you guys liked the best in the comments!! I think I'm leaning to Off the Grid personally! I've worn it the last couple days and its definitely prettier in person than in my photos!

Thursday, October 30, 2014

Tiff's Guest Blog Series: Halloween Nail art with Enchanted Polish's Yesterday

Hey guys!! Sooo this is what I've been wearing on my nails all last week! But I couldn't show you until I got pictures of it in direct sunlight to show off the holo awesomeness!! That took a week! I kid you not. No sunshine for a week. Ugghhh winter woes already!!

So Enchanted Polish's Yesterday is a holographic duochrome that is impossible to describe... Where do I even start?? Well it is primarily a grape purple colour. In some lights it shifts between purple and orange with basically no in-between colours. And in other lights you get a beautiful red wine colour between the two. Every now and again while I was in the car (I have no idea why but only in the car) I got this orange to greeny/yellow shift that was fabulous too! This polish has major multiple personalities!! I tried to get a photo of every facet of this polish to show you and hopefully I succeeded!

As for the nail art I used my now usual saran wrap transfer method, where I paint on a cd covered in saran wrap and then peel off my decals and stick them on the nail like any other decal. The pumpkins are painted with Spa Ritual's Conduit and the tops of the pumpkins are Butter London's Wallis. The black is a dollar store striper.

I put one coat of Yesterday over one coat OPI black onyx and seche vite on top. A few of the nails got two coats of seche vite because the decals ended up a little rough and then I got some shrinking because I did that. So if the cuticle region looks a bit messy to you, that's why.  Also some of these photos were taken after a week, so there's a bit of tip wear showing. As I said before, no sunlight. All freakin' week.

This is the most accurate photo of the colour when its not holo or shifting

When its holo, the colour goes a bit darker

These next four photos show the range of the shift the best!

Look at that orange shift!! WOW


This picture shows the shift from purple to orange with very little in between


These last pictures are in direct light and show the holo the best!


So what do you guys think?! The nail art isn't the most original but the Enchanted Polish makes it so much more special in my opinion!! :) Have a good Halloween tomorrow!

Saturday, October 11, 2014

Tiff's Guest Blog Series: Thanksgiving/ Fall Nail Art

Hey Everyone! So it’s almost Thanksgiving here in Canada and in the spirit of Autumn I thought I’d do some nail art! I’m just going to put this out there; I’m not exactly an expert nail artist. So I basically have three main problems: 1) I really have trouble using my left hand, 2) my nails are quite curved which makes drawing straight lines really tricky and 3) you only have one shot at getting a drawing right or else or you have to strip your nails and start all over. So basically on a really good day my left hand ends up looking sober and my right looks drunk. L. Sooo I was bored and finally decided to try out a technique called “The Plastic bag method”. Basically you paint on saran wrap and then transfer it like a pre-made nail decal. I tried to figure out who’s idea this was originally to give them their due credit, but I couldn’t figure it out. If you guys know who started this pllleeease message me! Anyways so if you aren’t familiar with this technique I’m going to walk you guys through what I did. I did this at night so all my progress picks are a little strangely colored due to the lack of natural light. Sorry!!

I started out by stretching saran wrap around a flat, plastic lid I found kicking around. I taped the edges to try and keep the saran wrap as flat as possible, but it was really tricky to get the saran wrap to not wrinkle. The next time I tried it I figured out that saran wrap sticks to CD cases statically which works a lot easier. You can get a really smooth surface by keeping the saran wrap loose, pressing the side of your hand into the middle of the case and then sliding your hand right and left to get a smooth wrinkle free surface. When you have a good sized section flattened, you have to secure it down using tape, but this method works much, much better! Setting up my “canvases” took about 5-10 minutes a piece once I got the idea refined. I also used white paper to replace the album art and give me a nice neutral background for creating decals (black construction paper would work well for white decals too, hint hint like spider webs!!).  

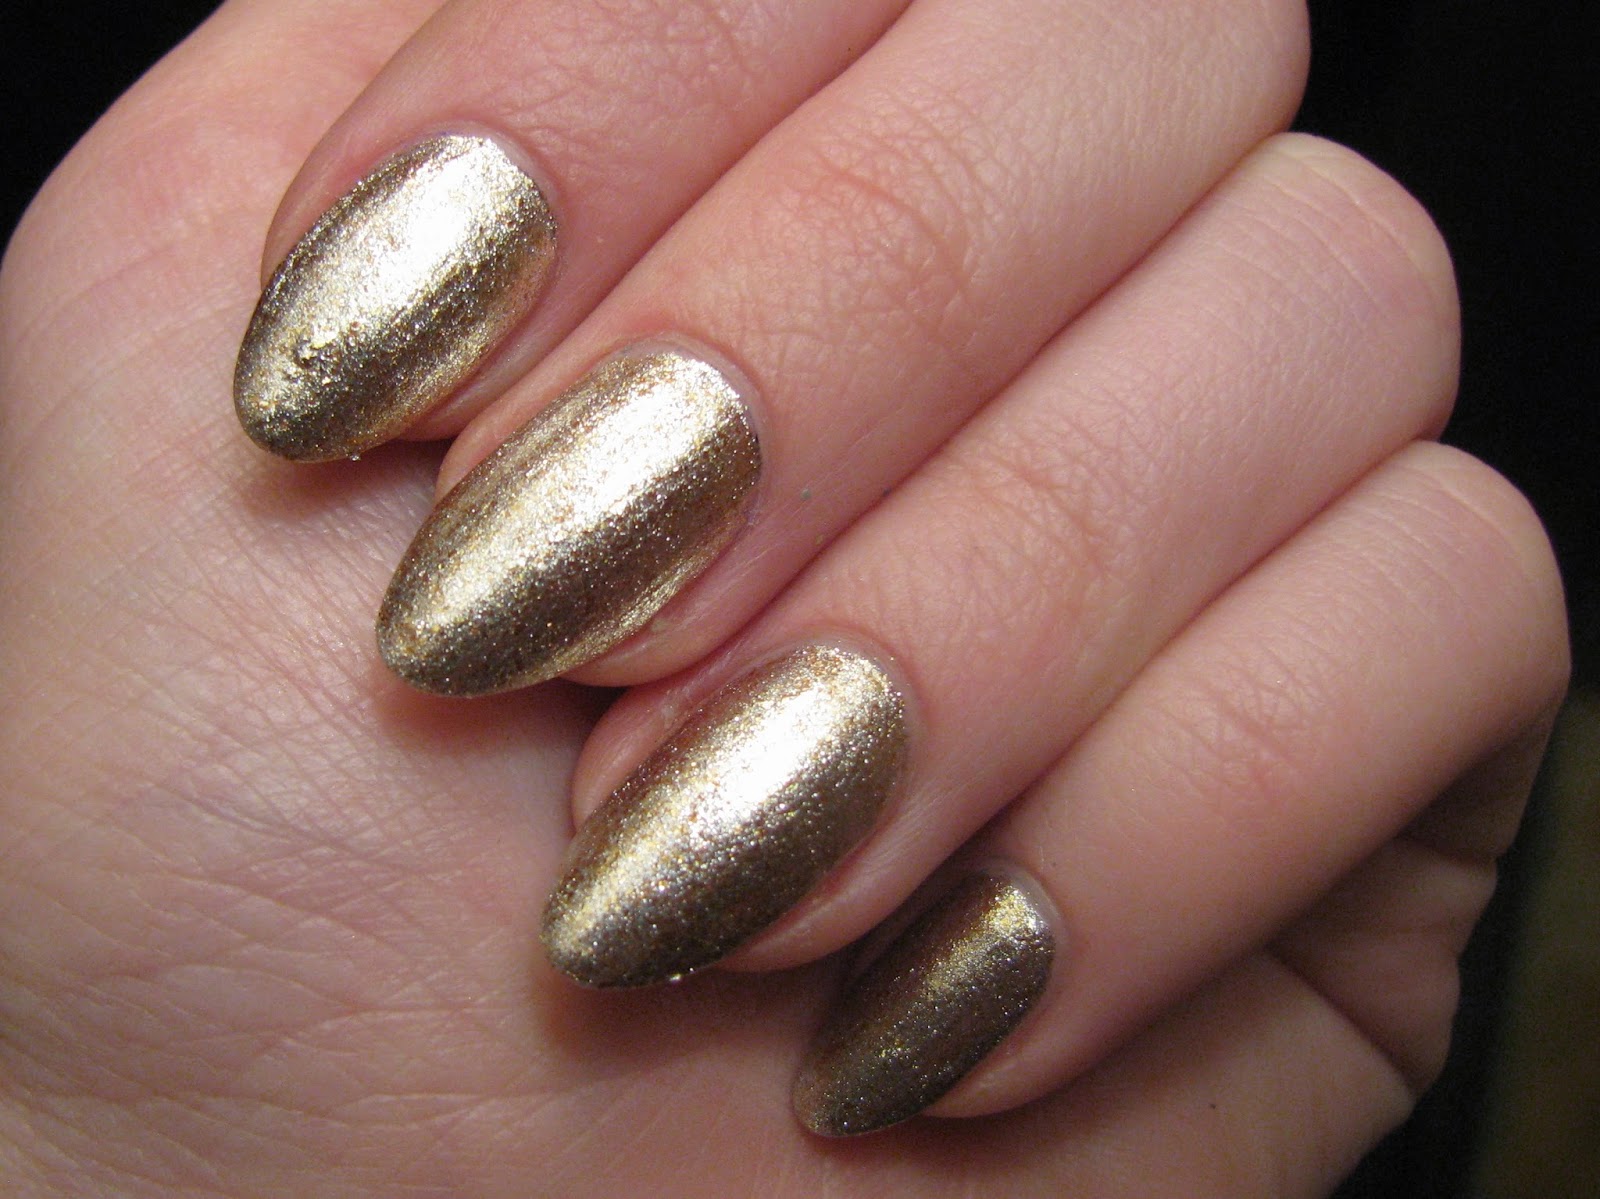
The first thing I painted was some longer, teardrop shapes onto the saran wrap using a few different colors (will list down below). Because nail polish dries slower on other surfaces I left the saran wrap alone for about half an hour and painted two coats of Handy Candy’s “Crush on Gold” on my nails. Here’s the pictures of my nails with “Crush on Gold”.


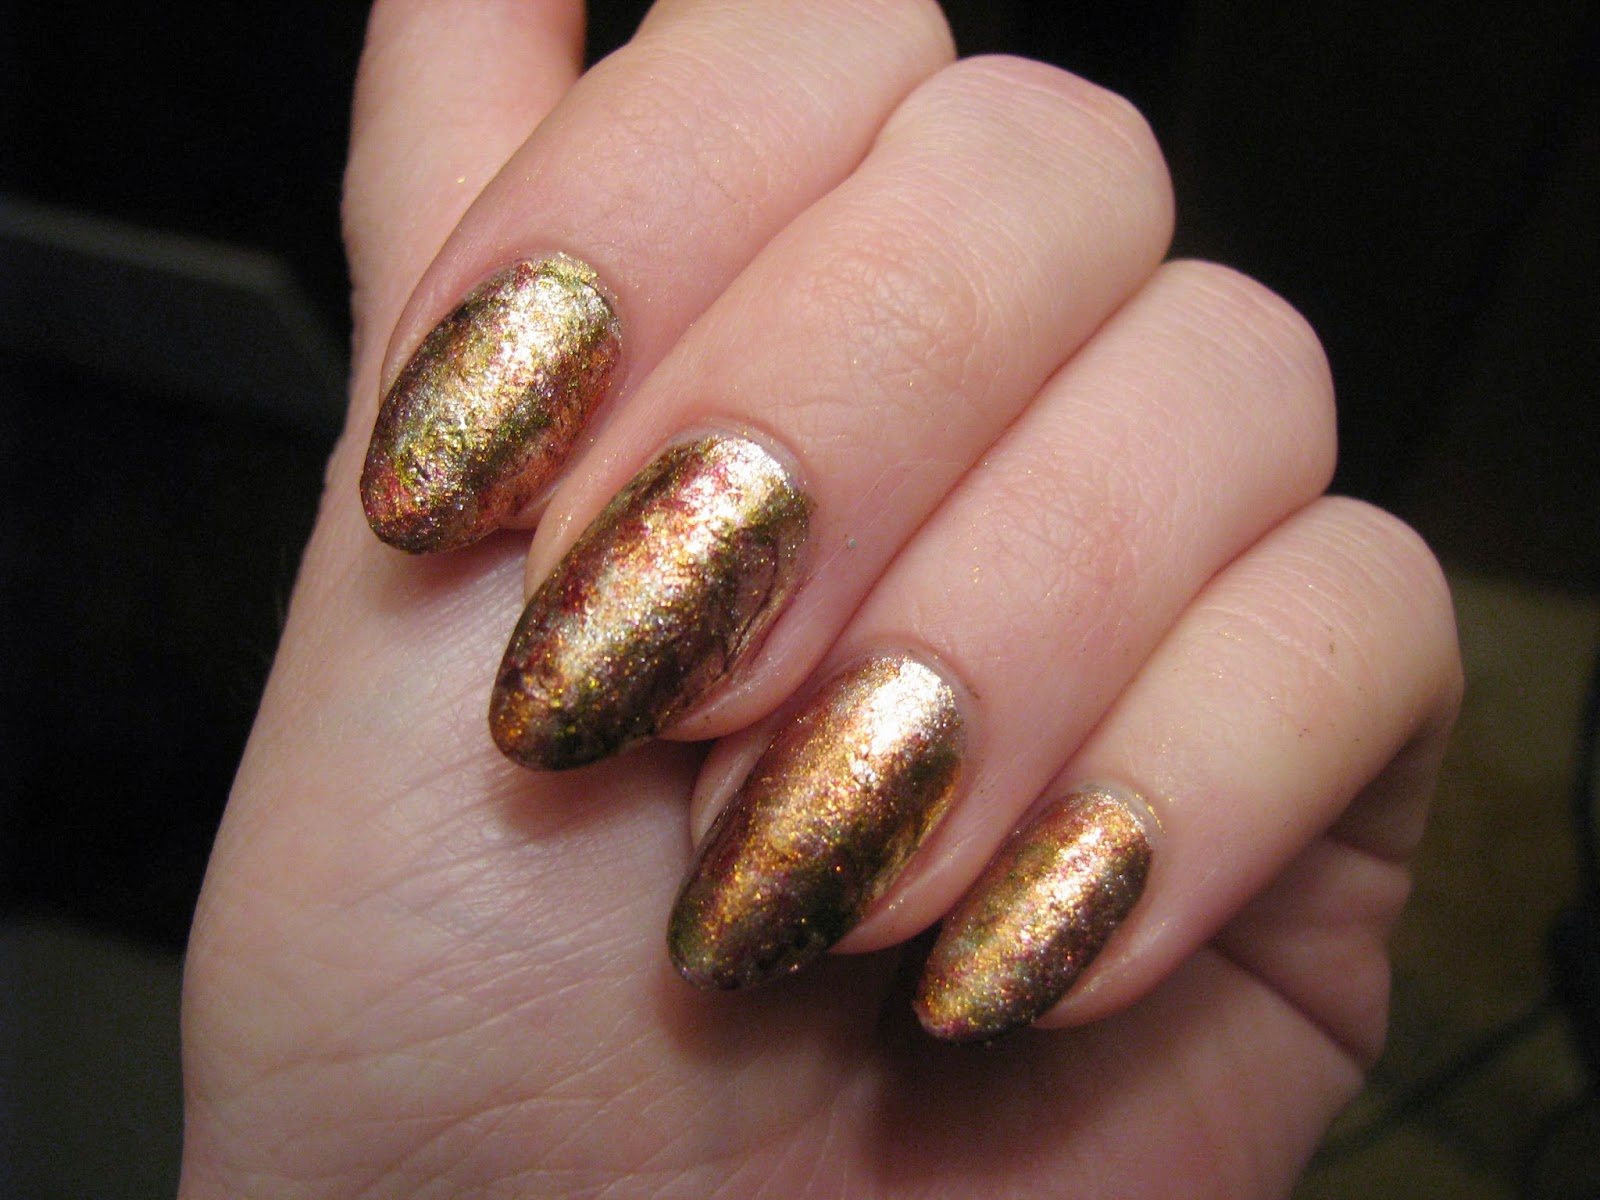
Next I added details to the leaves using a black striper and left that to dry for half an hour (yes I know this process is a little slow but its easy enough to do while watching tv). I did kind of a loose, messy outline of a leaf using the striper because I wanted an artsy flare and also because that style hides mistakes really well. Because my nails looked too plain with just the gold as a base, I decided to do some saran wrap marbling. So basically you blob on a few different colors and then blot the wet nails with saran wrap. It’s a little messy and there’s some clean up involved afterwards, but it looks purdy!! Here's a few pictures of my saran wrap leaves and my nails with the saran wrap marbling.


So after letting the black dry, I decided that the decals would probably come off easier if they were thicker, so I coated them all in top coat (seche vite).  I left a fairly wide boarder of top coat around the leaves so that if I needed to pick at the edge to peel it off, it wouldn’t distort the image. Once the top coat dried I picked off the leaves. You have to be a little careful when picking the leaves off that you don’t tear through the saran wrap. However, once I got a fingernail between the decal and the saran wrap it was actually very, very easy and they came right off! I was temped to use tweezers to peel the decals, but I was concerned about tearing through the image itself, so I just used my fingernails. Once peeled up, I placed the decals where I wanted them on my nails, trimmed off any excess top coat if it stuck out passed the nail and then painted top coat over the whole nail to seal the leaves on. My nails were slightly tacky when I put the decals on, which really helped them to stay in place while I painted the top coat on. By the time I got to the last few my nails had dried fully and the decals kept slipping off, so I painted a little top coat on before I put the decal on and that really helped secure them. A few of my nails felt a little bumpy still so they all got two coats of top coat. Here’s the final result (which incidentally became a giant photoshoot hehe)!!


I’m really happy with how this turned out!! It looks really fun and festive! The colors I used for the marbling and for the leaves were (in order of the photo): Spa Ritual’s “Conduit” (shimmery golden orange), Sally Hansen’s “Wine Not” (Shimmery merlot red), OPI’s “Expresso Your Style” (shimmery red toned brown), Butter London’s “Wallis” (shimmery golden moss green) and Handy Candy’s “Crush on Gold”. Here's the bottle shot!


I hope you guys have a great Thanksgiving and get to spend some quality family time!!! I know I’ll be enjoying my strange family and hopefully successfully making an edible dessert (my family is famously known for botching desserts EVERY year!!). HAHA hope you guys like my first art attempt!! I’ll be doing a few more for Halloween in the next week or so!